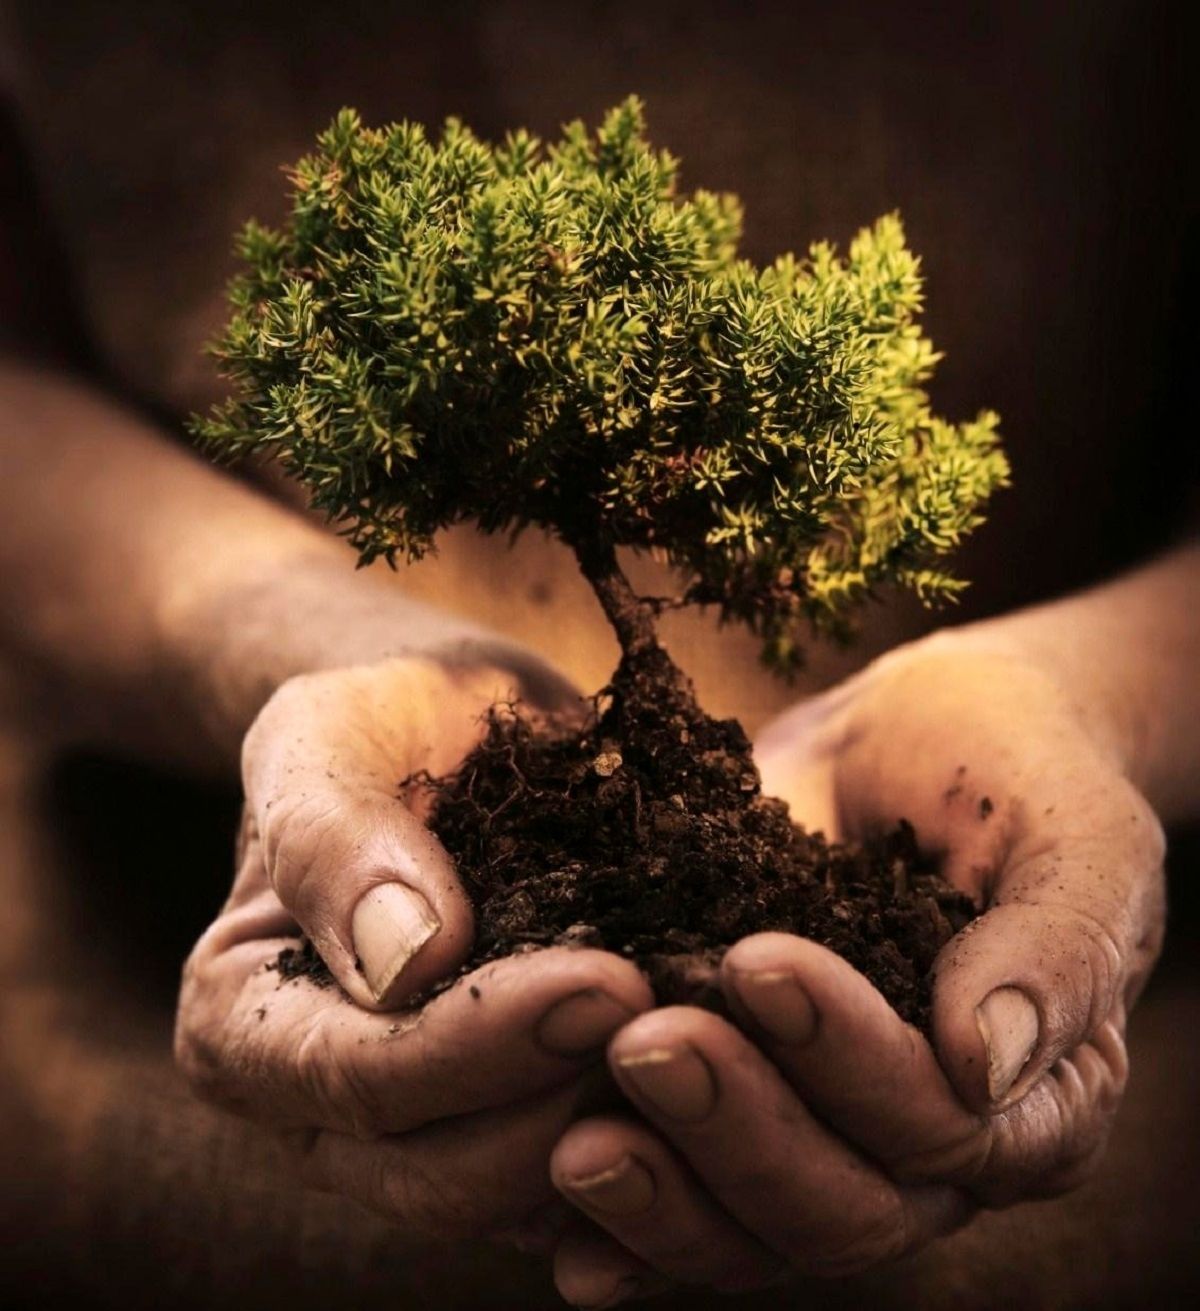
• Before you plant your Bios Urn, be sure to buy indigenous trees and plants to ensure optimal growth conditions.
• Check to ensure you plant during the best season because all seeds and seedlings should be planted during their correct planting season.
• TLC: all living things require some basic tender loving care, so remember to give your tree some, too!

To plant the Bios Urn, fill its lower capsule with your loved ones’ ashes. You can use any amount, regardless of how little. However, the Bios Urn has been designed to hold all the ashes resulting from the cremation process, with a capacity of 5.8 lbs or 2.5 Litres. A family member can fill the Bios Urn, or you may ask the crematorium.
Once the ashes have been transferred to the lower capsule, close it with the top capsule by sealing it into place. To do so, place the top capsule on top, then twist it slightly to the side. Thanks to its double capsule design, the Bios Urn quickly locks into place, keeping the ashes secure inside and the Bios Urn ready to plant.
TIP: If you only use a portion of the ashes, be sure to fill the remainder of the Bios Urn with soil from the surrounding area so as not to leave a gap present.
First, remove the green seal from the top capsule. You will find a biodegradable bag containing the growth medium. Unpack the growth medium and place it in the top capsule. Next, gently place the seedling into the capsule. Combine its soil with the growth medium and eventually add soil from the site in the top capsule of the urn.
TIP: If the seedling fits perfectly in the capsule, mix the growth medium with soil from the site and add it on top. These steps will help you plant the Bios Urn successfully.
Once the Bios Urn is entirely covered with soil, thoroughly water the area. The Bios Urn is made of 100% biodegradable material and will not harm the soil while naturally breaking up. Depending on your preference, you can plant your Bios Urn using tube stock, seedlings, or shrubs. We recommend planting trees during their appropriate season.
Once you have planted your Bios Urn, take good care of your tree. If you have questions, do not hesitate to contact us. Our friendly Team will be happy to assist you.

Made of high-quality materials that ensure its preservation, the Bios Urn doesn’t expire. However, to keep it in the best condition, store the urn in a dry place and away from extreme heat or humidity.
You can plant the Bios Urn using recent or old ashes.
Check out the following links to learn about suitable places to plant the Bios Urn.
Related Links:
How to Plant Your Bios Urn Indoors or In a Container
How to Plant and Protect Your Bios Urn Tree over Winter
How to Bring Your Bios Urn Tree With You If You Move
Please get in touch with us if you have additional questions, comments, or general inquiries.